
Our homes are adorned with a plethora of plants and flowers that not only enhance the aesthetic appeal but also contribute positively to our well-being, mood, and the environment. Many of these botanical companions engage in photosynthesis, releasing carbon dioxide and absorbing excess humidity, playing a crucial role in maintaining a healthy indoor environment.
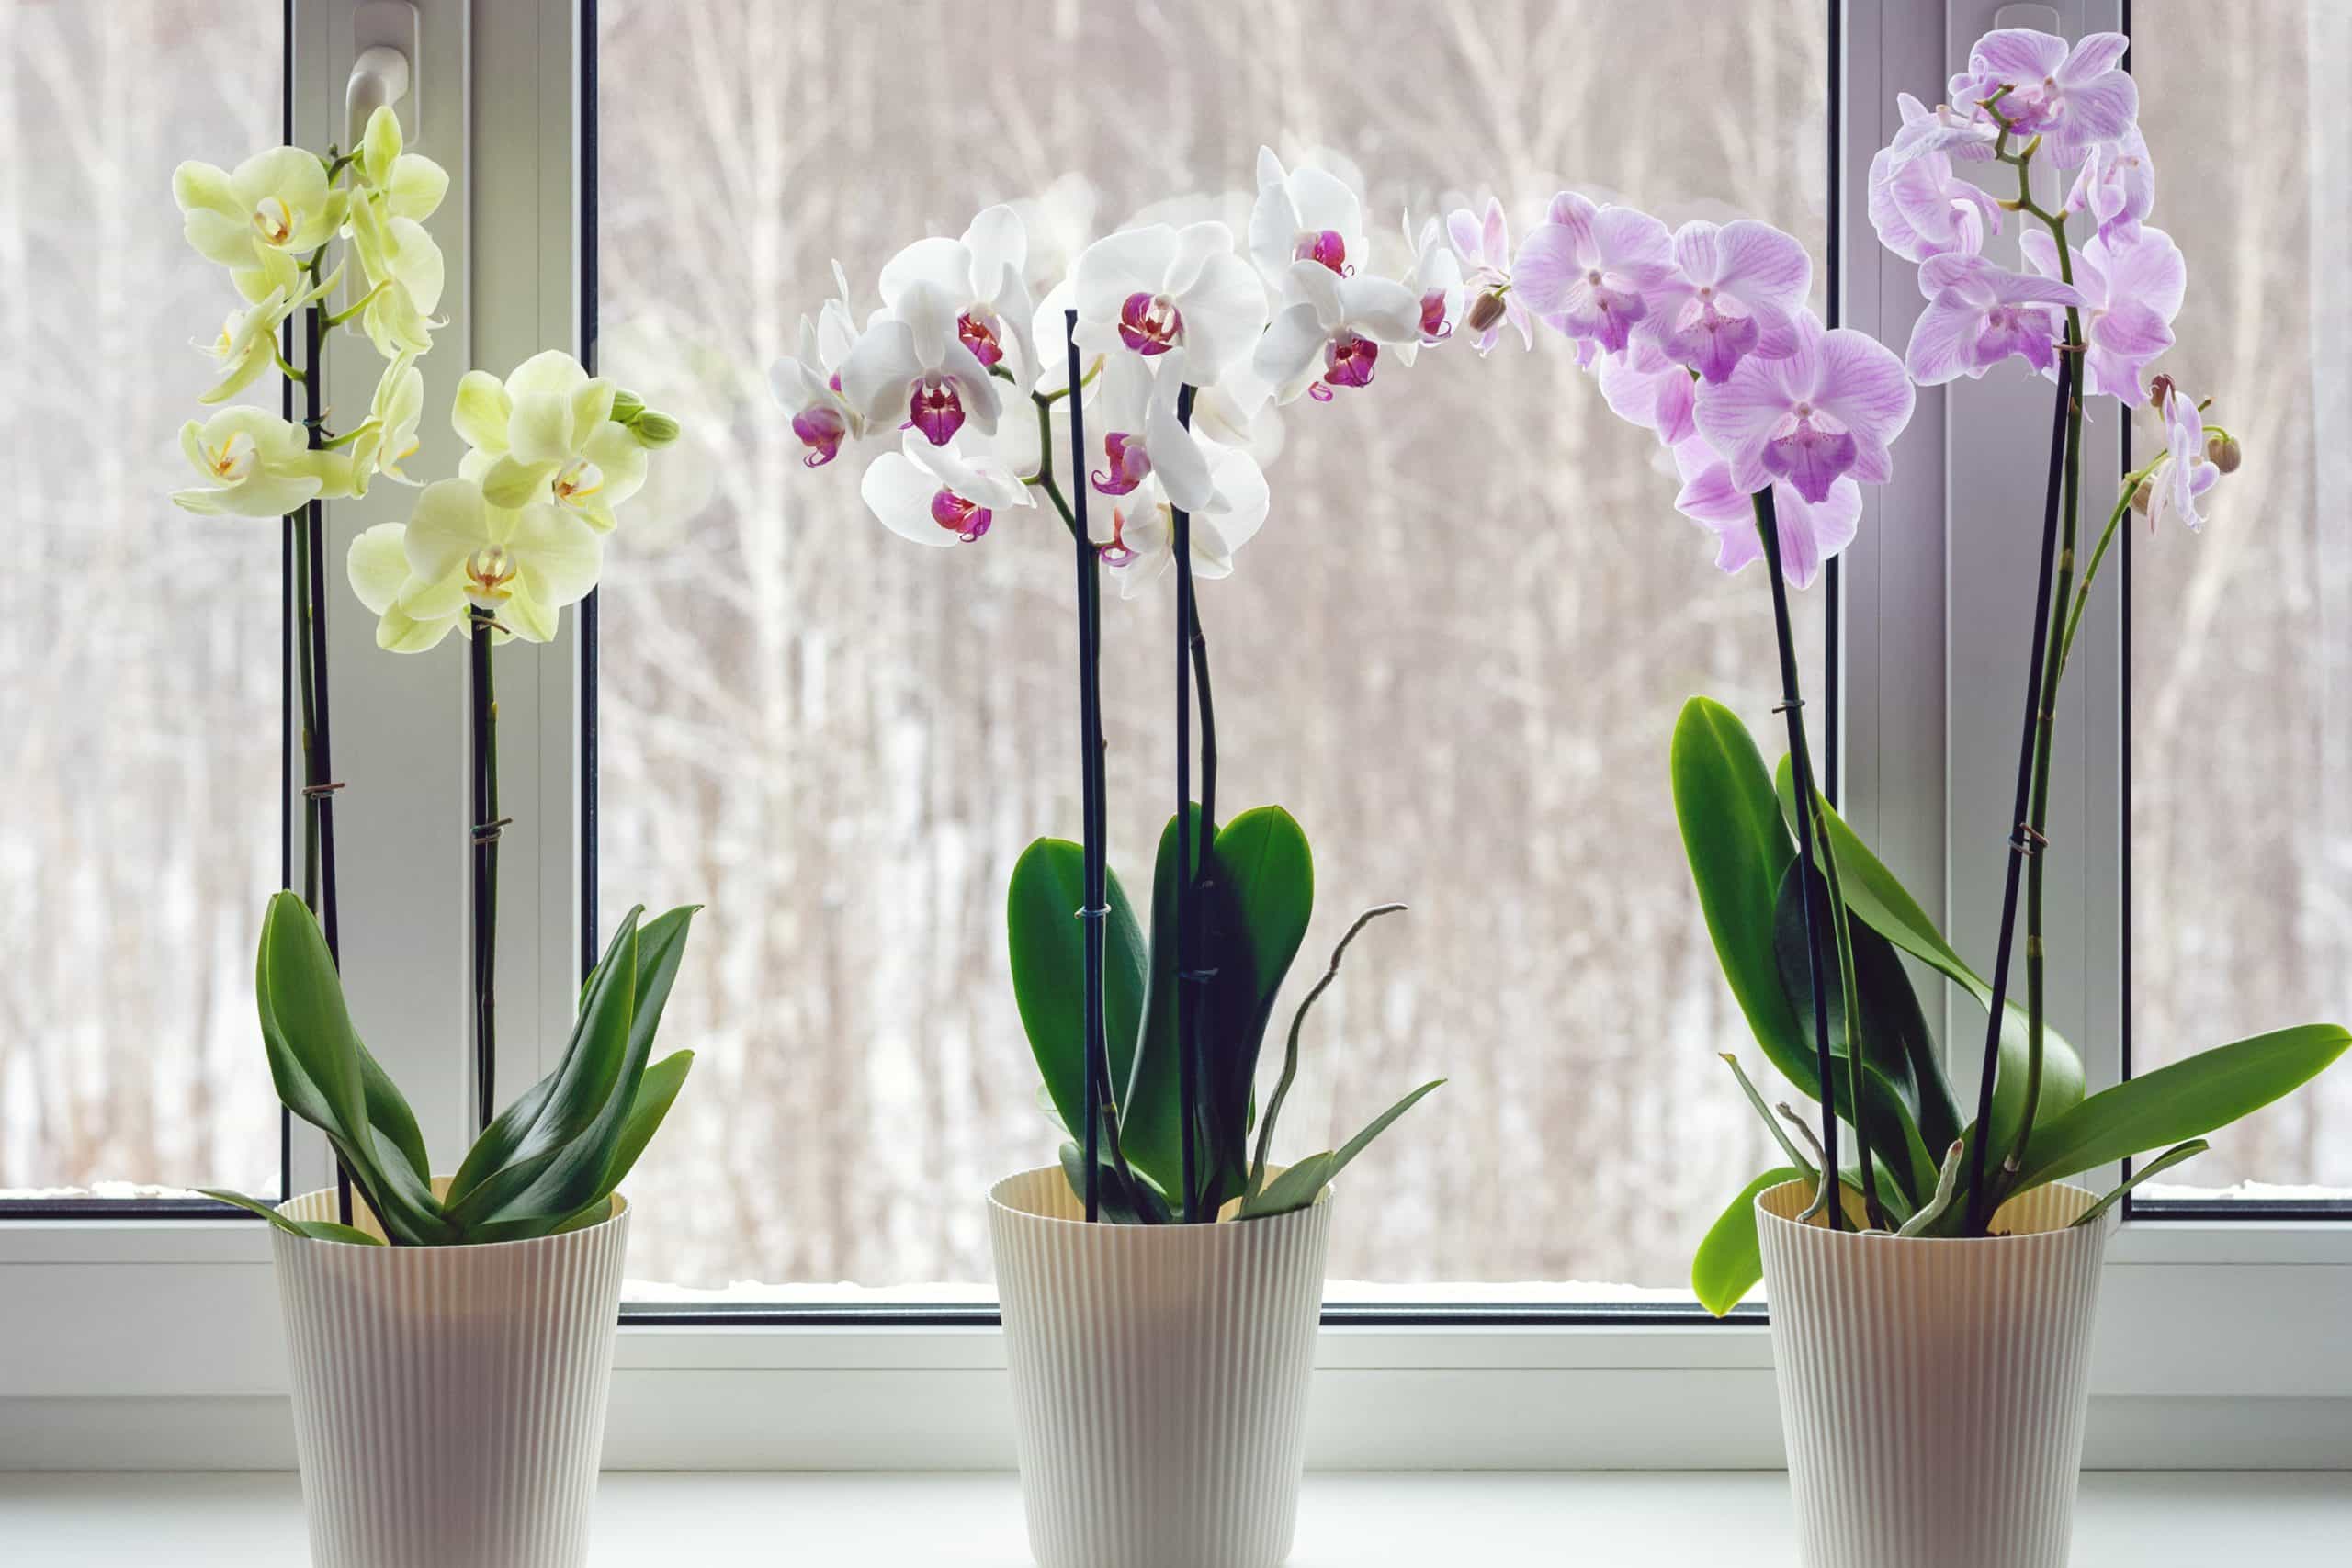
Among these floral residents, orchids stand out for their resilience and elegant, colorful flowers often featured in various events and ceremonies. Unbeknownst to many, there exists a lesser-known technique called the “sponge method” employed by seasoned nursery experts to ensure a thriving orchid.
Here’s a step-by-step guide to unveil this rejuvenation process:
Reviving a Dying Orchid:
- Clear away all dry or rotten parts from the seemingly lifeless plant.
- Extract the orchid from the soil and remove the bark and other dry components with sterilized scissors.
- Prioritize removing questionable parts, erring on the side of caution to allow the healthy segments to regenerate.
Cinnamon Seal:
- Apply cinnamon to cut areas to prevent the entry of fungi and bacteria.
- Let the plant rest for 48 hours on a sterile, dry surface.
Creating a Microclimate:
- Cut approximately 10 cm from the bottom of a plastic bottle, puncturing the base with 4 or 5 slits for drainage.
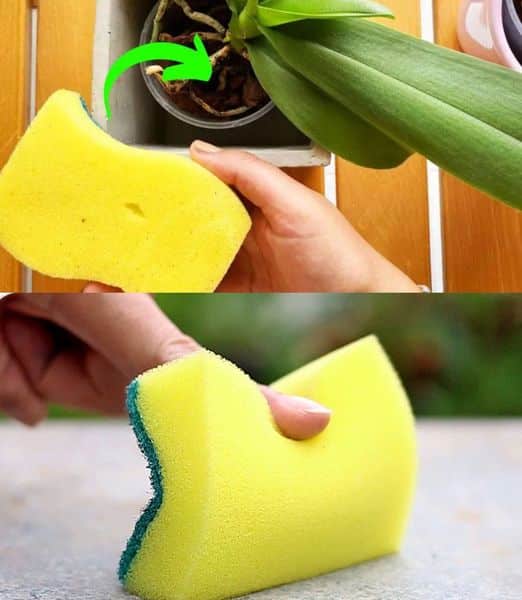
- Create a seedling bed within the bottle using moss, lichen, or a sterilized sponge.
- Insert the wet sponge into the bottle’s bottom after soaking it.
- Place the orchid in a plastic bag to create a microclimate that aids in refreshing and reviving the plant.
- Orchid: the sponge method
Providing Light and Observation:
Position the setup where the orchid receives ample light, avoiding direct sunlight for approximately 50 days.
Observe the plant closely for signs of revitalization.
Transplantation:
After the designated period, observe the rejuvenation, marked by hard, green, and shiny leaves without mold or bacteria.
- Prepare a plastic pot with holes at the bottom, filling it with bark.
- Gently insert the orchid into the pot, being mindful of the roots.
- Gradually add more bark until the pot is filled.
- Mist the orchid using a vaporizer or spray bottle, avoiding direct contact with the leaves initially.
Future Growth:
Treat the plant like any other orchid, providing care and attention.
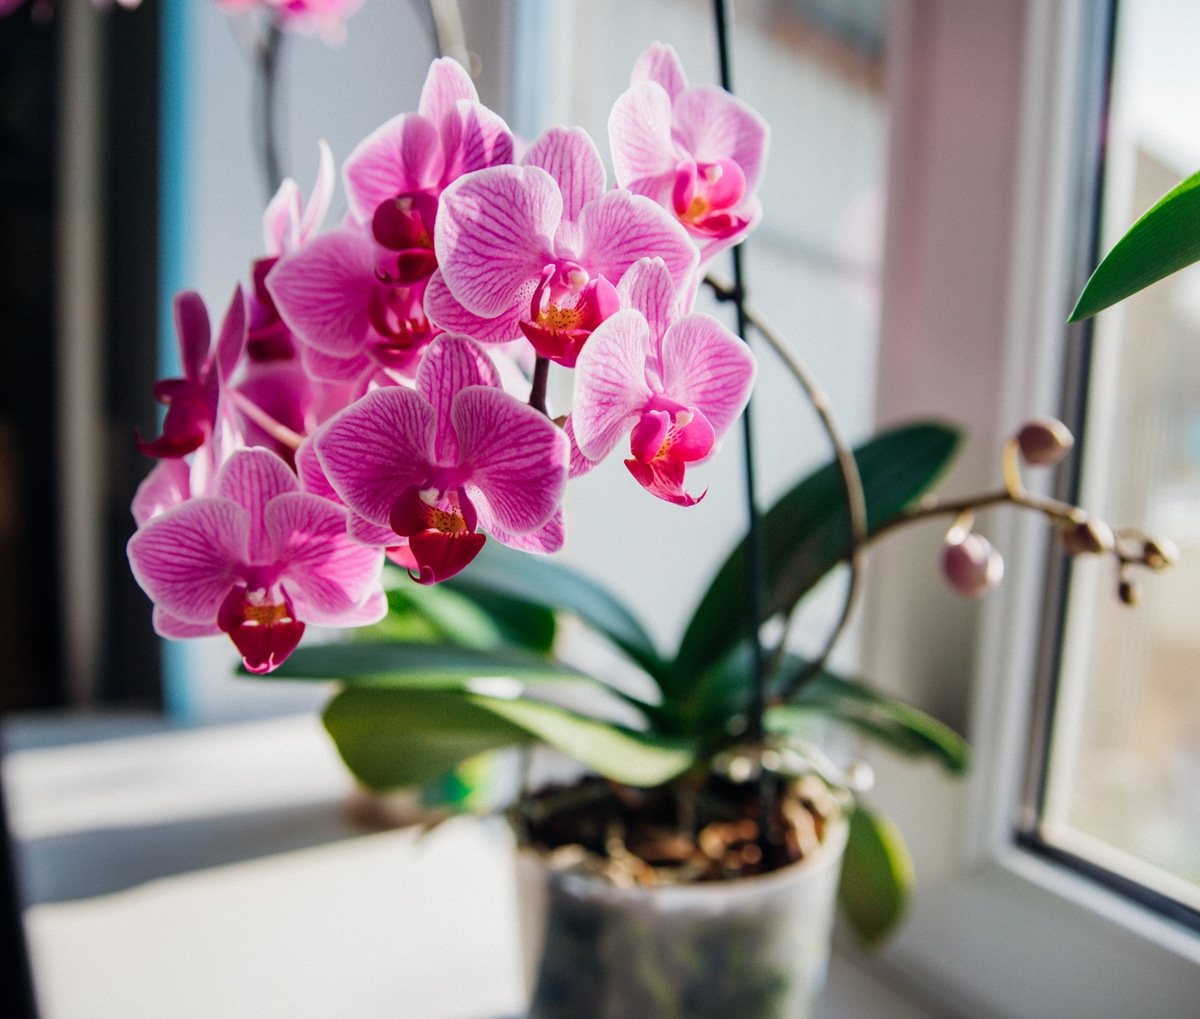
After three months, witness the orchid’s growth in leaves and roots, soon followed by envy-inducing flowers.Orchid: the sponge method
Embrace the sponge method, a well-guarded secret, to breathe new life into your orchid, ensuring vibrant blossoms and prolonged vitality.